Have you ever encountered the dreaded Windows Error Code 0x80071129? It’s one of the most common errors users face when trying to access a program or application. In this article, we’ll show you how to troubleshoot and fix this error in a few easy steps. Read on to find out more about what Error Code is, why it appears and how you can get rid of it for good!
Introduction to Windows Error code 0x80071129
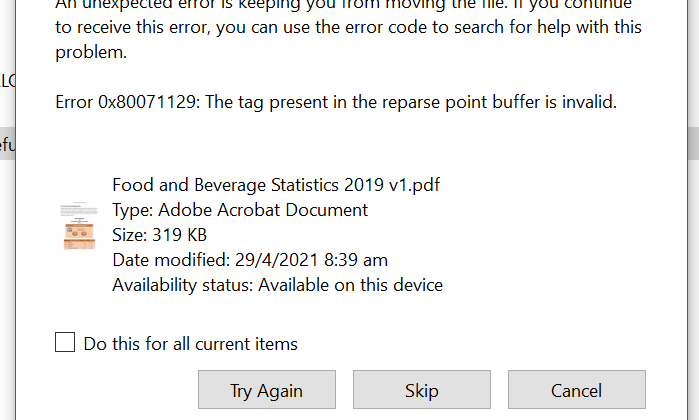
If you’re seeing the Windows error 0x80071129, it means that a file or folder on your computer is corrupted and unreadable. This can be caused by a number of things, including viruses, malware, or simply a corrupt file. Fortunately, there are a few things you can do to fix this problem.
First, try running a virus scan on your computer. If you don’t have antivirus software installed, you can download and install Microsoft Security Essentials for free. Once you have antivirus software installed, run a full scan of your computer and remove any malicious files that are found.
Next, try using the Windows System File Checker tool to repair any corrupt files that may be on your system. To do this, open the Command Prompt (search for “cmd” in the Start menu) and type the following command: sfc /scannow This will scan all of the files on your system and replace any that are corrupt with healthy copies.
If neither of these solutions work, you may need to format your hard drive and reinstall Windows. This should only be done as a last resort, as it will erase all of the data on your hard drive. Before formatting your hard drive, be sure to back up all of your important files to an external storage device or cloud service.
What Causes Windows Error?
Windows Error 0x80071129 is caused by a problem with your computer’s security settings. This error can be caused by a number of factors, including:
-Your computer’s security settings are not configured correctly.
-Your computer is not connected to the Internet.
-There is a problem with the Windows Update service.
-There is a problem with the Windows Firewall.
To fix this error, you will need to change your computer’s security settings, connect to the Internet, and then try to update Windows again.
How to Fix Windows Error code 0x80071129?
If you’re seeing the Windows error 0x80071129 on your computer, it means that there’s a problem with the registry on your system. The registry is a critical component of Windows that stores all the settings and options for your operating system. When it becomes corrupt, it can cause all sorts of problems, including the 0x80071129 error.
Fortunately, there are a few things you can do to fix the problem. First, try running the built-in Windows Registry Repair tool. This will scan your registry for any errors and attempt to fix them automatically.
If that doesn’t work, you can also try manually editing the registry. This is a more advanced option and should only be attempted if you’re comfortable working with the Registry Editor. Be sure to back up your registry before making any changes!
Once you’ve made the necessary changes, restart your computer and see if the 0x80071129 error has been fixed. If not, there may be another issue at play. You can use the Windows Troubleshooting tool to help identify any other potential problems.
- Method 1: Repair Corrupt System Files
If you are encountering the Windows Error x, there are a few methods you can try to fix the issue. This guide will walk you through each method step-by-step.
Method 1: Repair Corrupt System Files
If the Windows Error x is being caused by corrupt system files, you can use the System File Checker tool to repair them. To do this:
- Press the Windows key + R to open the Run dialog box.
- Type “cmd” and press Enter to open Command Prompt.
- Type the following command and press Enter: sfc /scannow
This will scan your system for corrupt files and attempt to repair them. Once the scan is complete, restart your computer and see if the error has been fixed.
- Method 2: Run an SFC Scan
If you are encountering the Windows Error x, there are a few different methods you can try in order to troubleshoot and fix the issue. In this article, we will walk you through Method 2: running an SFC scan.
System File Checker (SFC) is a utility built into Windows that allows users to scan for corruptions in Windows system files and restore them if necessary. This can be a helpful tool to run if you are encountering errors or other issues with Windows.
To run an SFC scan, follow these steps:
- Press the Windows key + R on your keyboard to open the Run dialogue box.
- Type “cmd” into the Run dialogue box and press Enter. This will open the Command Prompt.
- In the Command Prompt, type “sfc /scannow” and press Enter. This will initiate the SFC scan.
- The SFC scan may take some time to complete – please be patient while it runs.
- Once the scan is complete, restart your computer and see if the Windows Error x persists. If it does, try another method from this article.
- Method 3: Perform Registry Cleanup
If you’re still experiencing issues after following the first two methods, it’s time to try a registry cleanup. This method is more advanced and should only be attempted if you’re comfortable working in the Windows Registry.
To start, launch the Registry Editor by typing “regedit” into the Start Menu. Once open, navigate to the following key:
HKEY_LOCAL_MACHINE\SOFTWARE\Microsoft\Windows NT\CurrentVersion\Winlogon
In the right-hand pane, locate the “Userinit” value and double-click on it. In the Edit String dialog box that appears, delete everything after the last comma in the Value data field and click OK. Close the Registry Editor and restart your computer – this will reset the Userinit value and hopefully fix your problem.
- Method 4: Uninstall and Reinstall Software Causing the Error
If you are still experiencing the Windows error x after trying the first three methods, then your last resort is to uninstall and reinstall the software that is causing the error. This may seem like a daunting task, but it is actually quite simple.
First, you will need to find the name of the software that is causing the error. To do this, you can either look through your list of installed programs or perform a search online for the program name.
Once you have found the program, simply click on it to select it and then click “Uninstall” from the top menu. Follow the prompts to complete the uninstallation process.
Now that the program has been uninstalled, you can reinstall it by downloading it from its official website or from a trusted third-party website. Once again, follow all prompts during installation and restart your computer when prompted.
Conclusion
In conclusion, the Windows error code 0x80071129 can be a frustrating issue to deal with. It is important to remember that there are numerous ways to troubleshoot and fix this issue, and it’s always best to try multiple solutions before giving up. We hope our step-by-step guide has provided you with the information necessary for fixing this problem quickly and efficiently. Good luck!
Leave a Reply